Magazine Advert and Front Cover
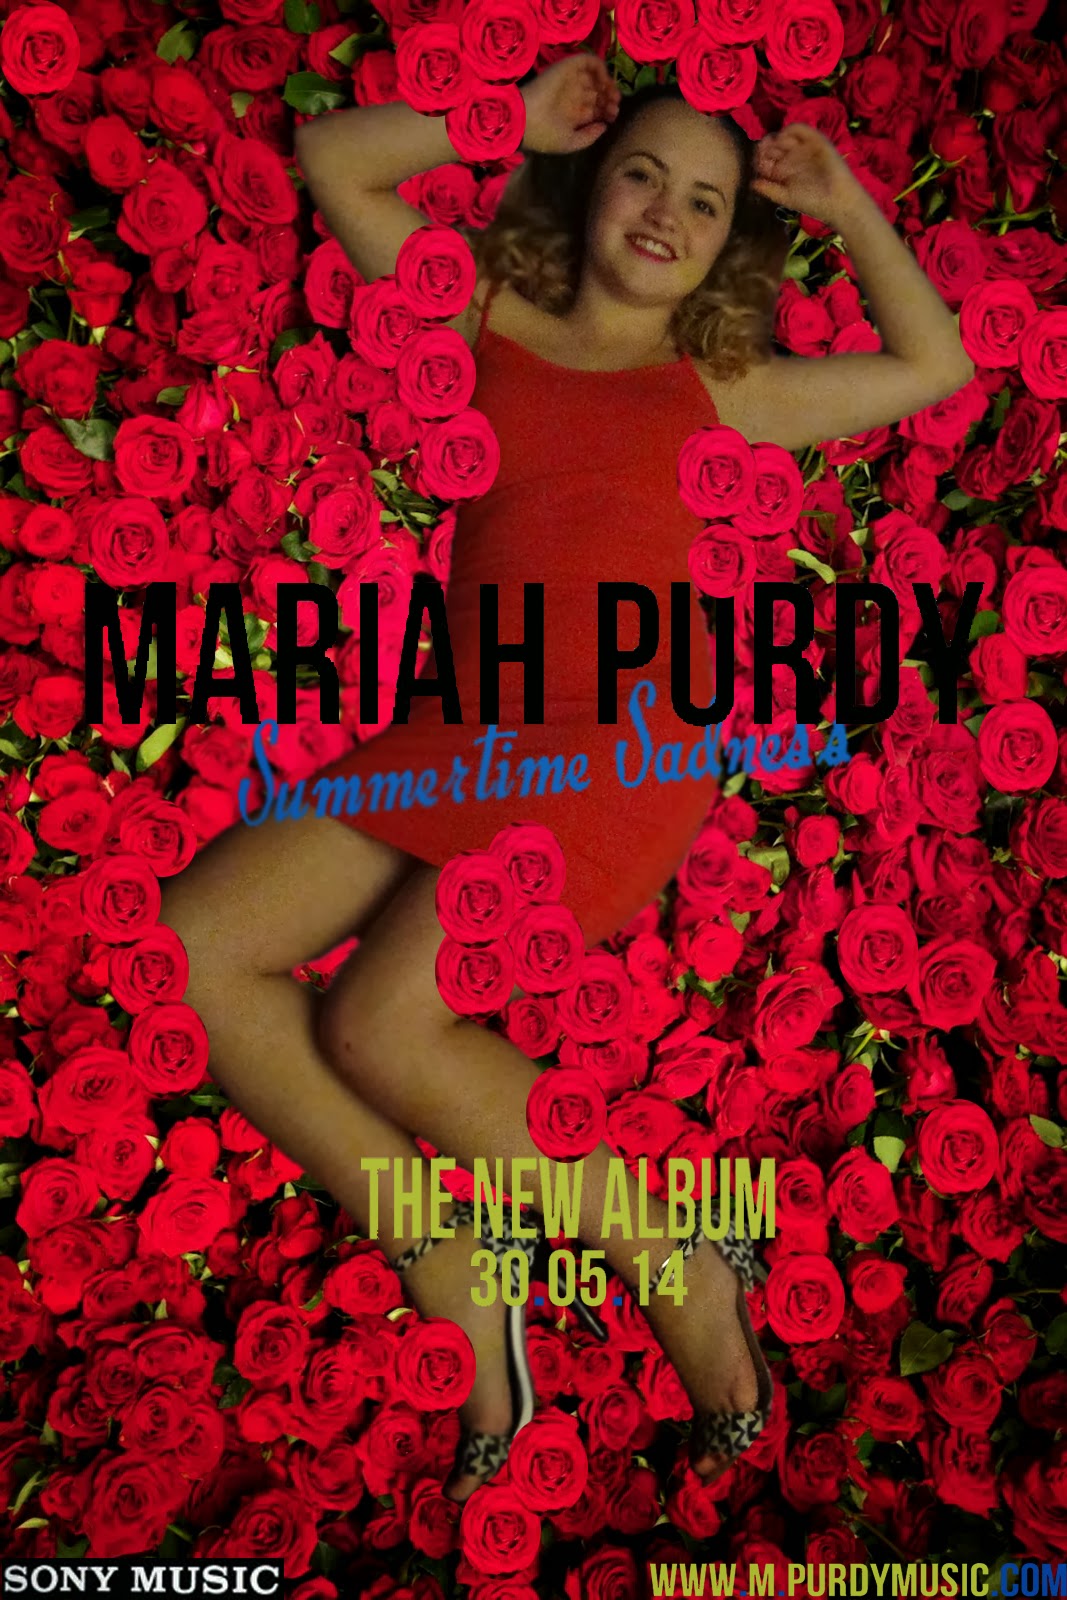
With the use of PhotoShop I took one of my original image where she is laying on a bed and I had an idea for the magazine advert and for the front cover of my digipak. These initial ideas came from doing my recent research on real media texts. The feature I found was the theme of flowers which are very feminine. Therefore I used the Eraser Tool and erased all the area of the room around her.
After erasing everything around her I was left with Shannon laying on a blank background.
Then with using the Quick Selection Tool it selected Shannon's body which I wanted with pressing CTRL button I dragged her across onto the small flower image. I took this photo at my local florist called 'Florista' then I am planning on Duplicating the small image of flowers and spread individual flowers and leaves to it doesn't look like the same image has been copied several times.
Using the Blur Tool I neatened the edge of her. I thought it didn't look like she was laying on the flowers therefore I thought it was best if the flowers was softly laying on her making her look like she is actually in the flowers. To do this I Elliptical Marquee Tool and circled an individual flower, right clicked and pressed Layer via copy producing just one flower then I Duplicated this layer to as many flowers that I needed and placed them in my desired spot near or on her.

Left Cover
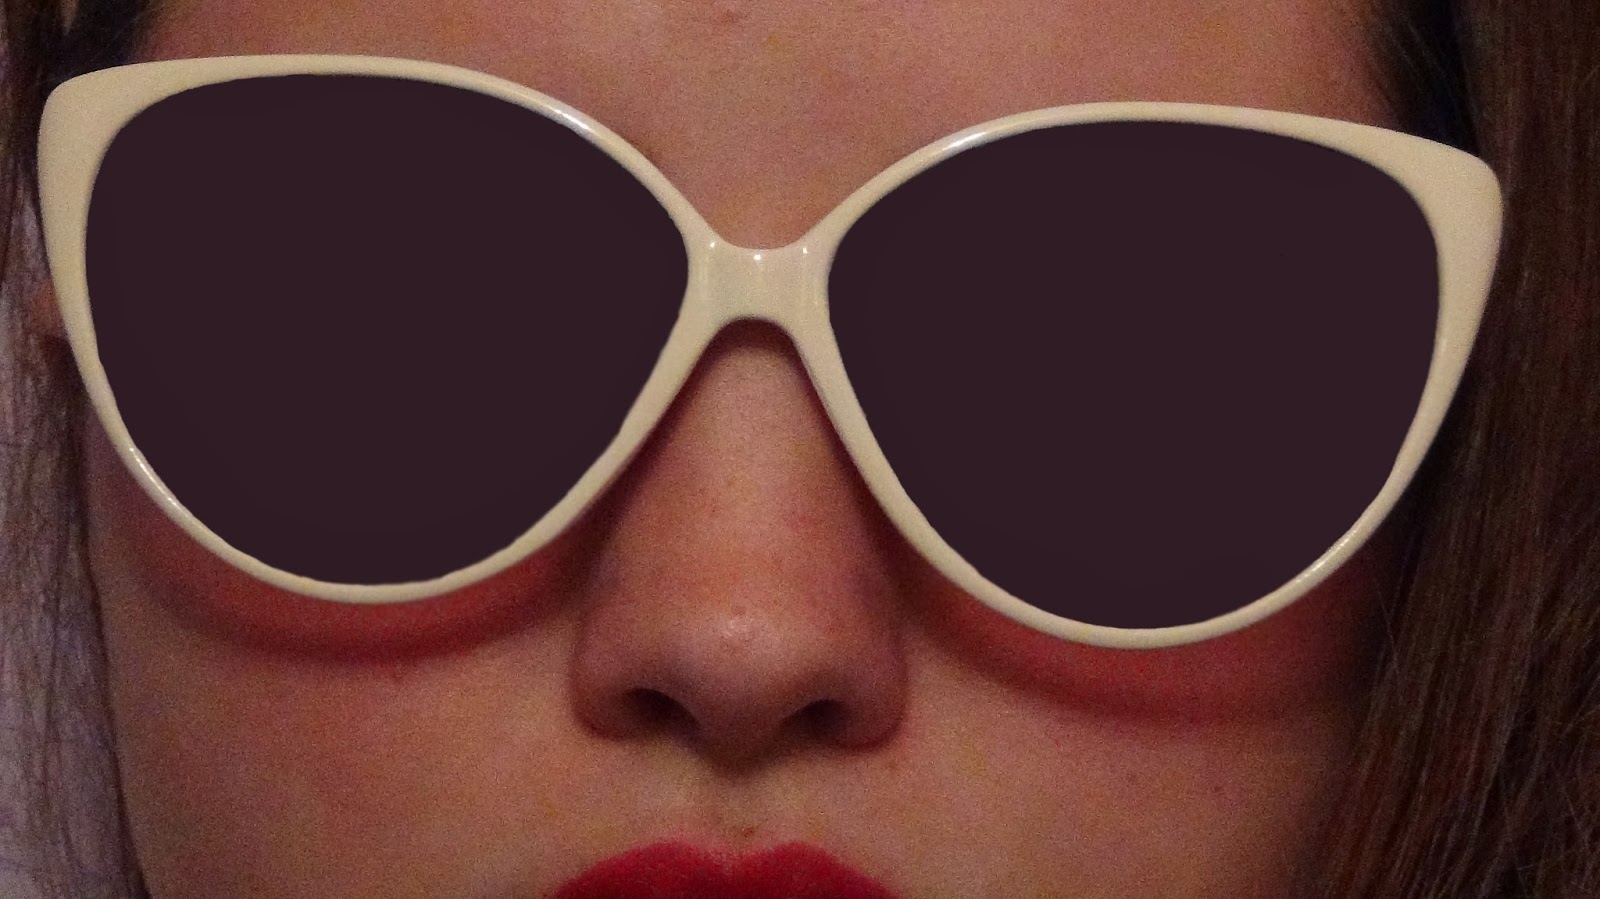
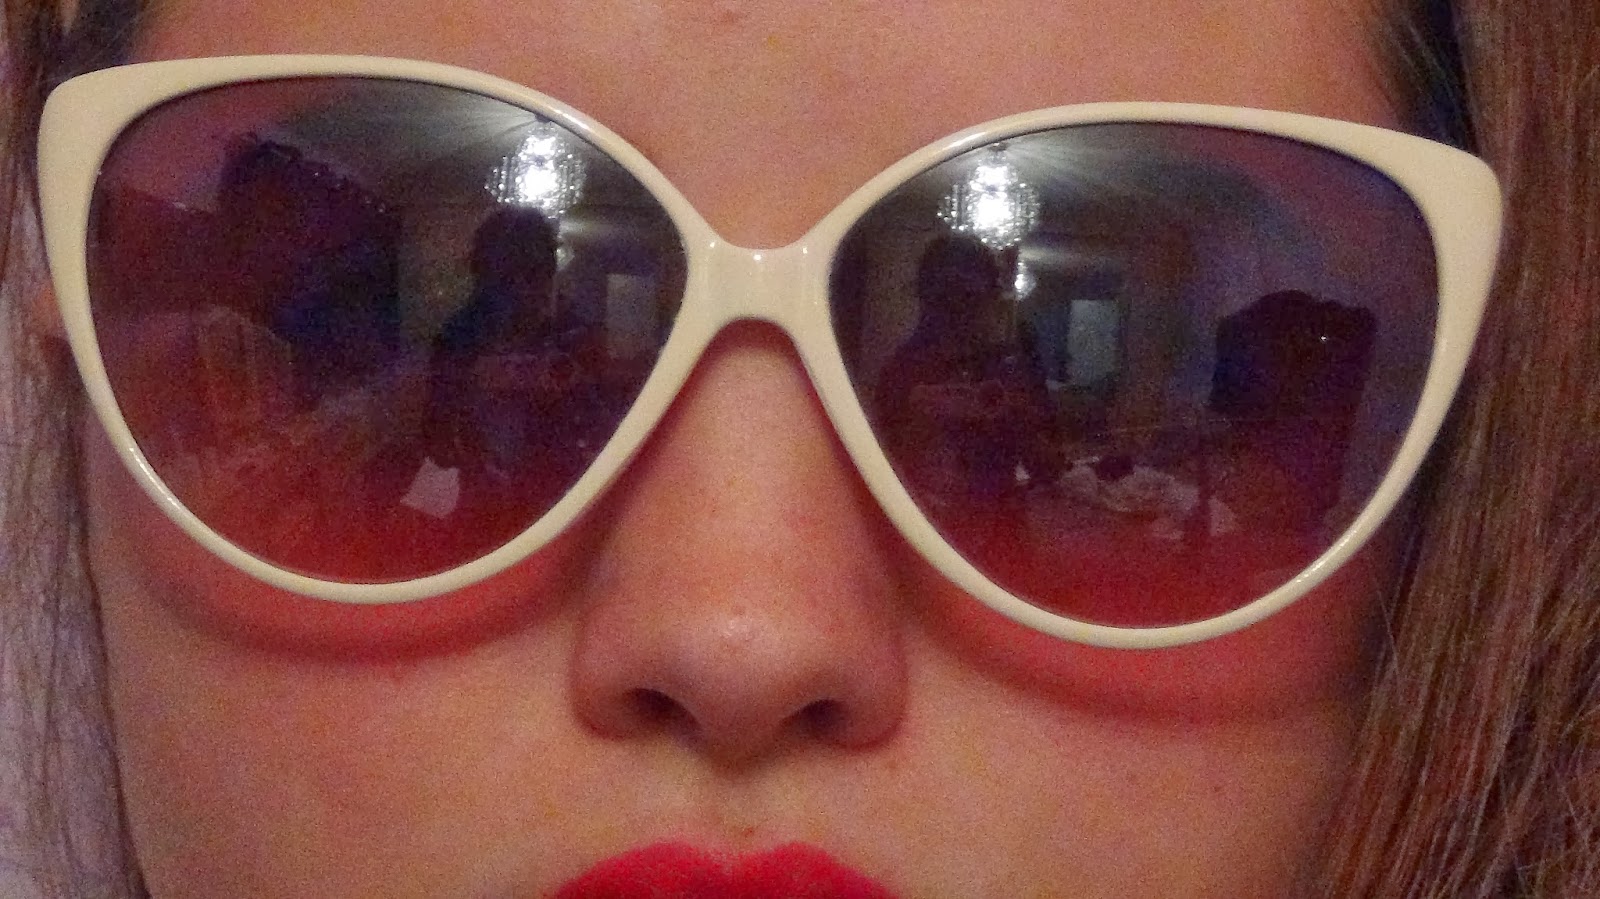
With the use of PhotoShop I took one of my original image of an extreme close-up of Shannon's face for the left cover, A problem which is very clear is this photo is the reflection of me taking this shot.
To over come this problem I used the Eyedropper Tool by clicking on a part of the glasses and this collected the colour. The result of doing this I could then colour the glasses in with this colour by using the Brush Tool and zooming very closely in to the picture helped me get a smooth and clear result. I like the finishing draft as it looks like a block colour fitting into my retro theme.

Cover Inside
With the use of PhotoShop I took one of my original image for my inside cover. I wanted to include black and white for the basic need of connecting it to my music video therefore I desired to make the background black and white and to keep her in colour.

I successfully did this by Layer- New Adjustment Layer- Channel Mixer- Output Channel= Grey. Then clicking on black and white the whole picture went black and white, I clicked on the Brush Tool and hovered in on just her and her colour came back, again I had to zoom very close to get a clean finish.
Left Cover (CD)
I used the same process as the inside cover, making the background black and white and keeping her in colour.


No comments:
Post a Comment